Screens For Home Assistant
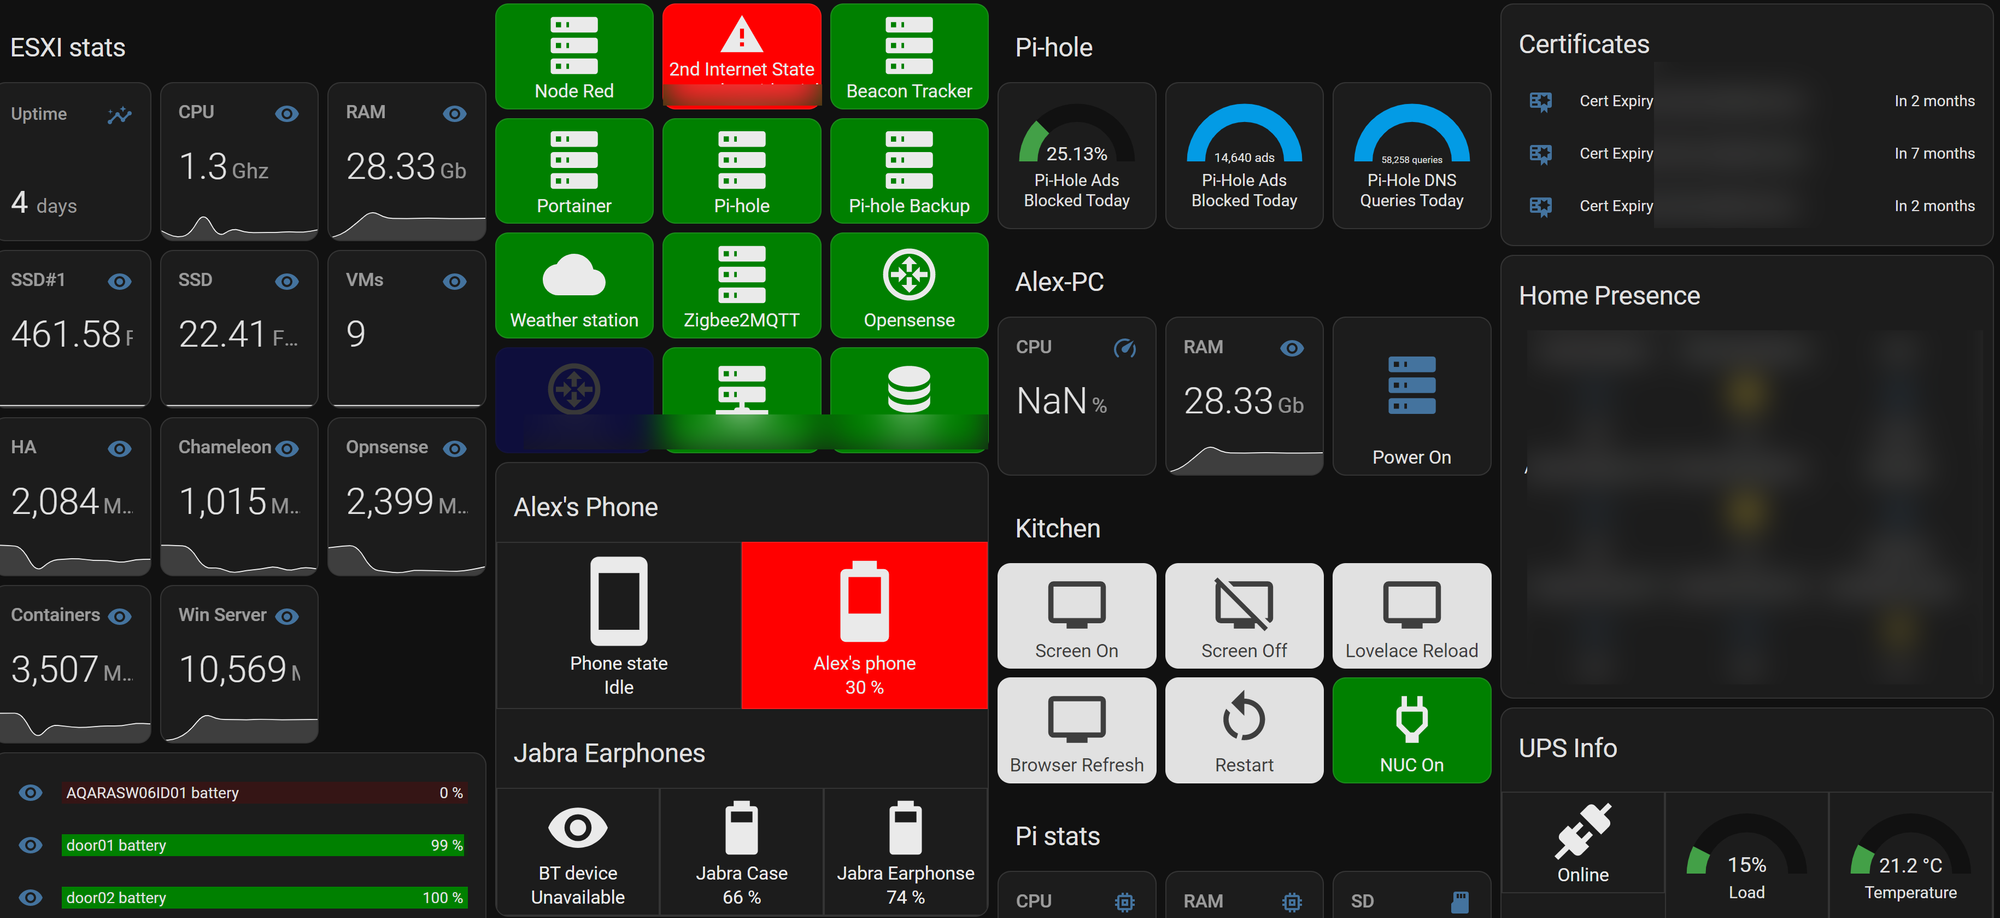
Like most users of home assistant, you'll eventually realise that using that old 10" tablet that has been repurposed into a primary home assistant interface doesn't quite cut it any more and you'll want an upgrade!
Touchscreens
1. Point of sales screens
A cheap and easy option can be to get a second hand POS screen, or similar, from places like Facebook market place, eBay or eWaste recycling companies. These often come in sizes 15-19" 4:3 aspect ratio. Often these are made by companies like ELO, although also rebranded by others. The struggle with these are low resolution, high power consumption (unless you get a LED backlit unit, most are CCFL), limited mounting options, and poor aesthetics.
2. Touchscreen TV (Interactive Display)
Now, this option needs luck and patience and is not for the faint of heart. It's quite possible to find large format 60-80" touchscreens that with 4k resolution for very cheap. These usually come from schools, universities and sometimes businesses as they upgrade or remove these screens. These are typically commercial TV's with some type touch overlay attached on the front. The few of these I have seen are extremely heavy, depending of the type of touch overlay. An additional piece of glass is sometimes added over the original non-touch panel and then an IR grid is placed around the glass. This can make mounting of these screens a fairly intensive process. Anther challenge with using these screens may be turning them on and off. Many of them have an option to power back on after being switched off at the wall, so a smart plug is an easy option. However, others may restore to standby state after power lost, so using an IR blaster or HDMI-CEC would be required. The last challenge with these is that the touch surface is sometimes recognised as a generic HID device (so a mouse) and not as a touch screen. This causes issues with not being able to scroll or receive the on-screen keyboard when selecting a text field - although, as long as you can find them drivers for them, this can be overcome (on Windows at least!). Pictures coming soon!
3. Off-the-shelf Touchscreen
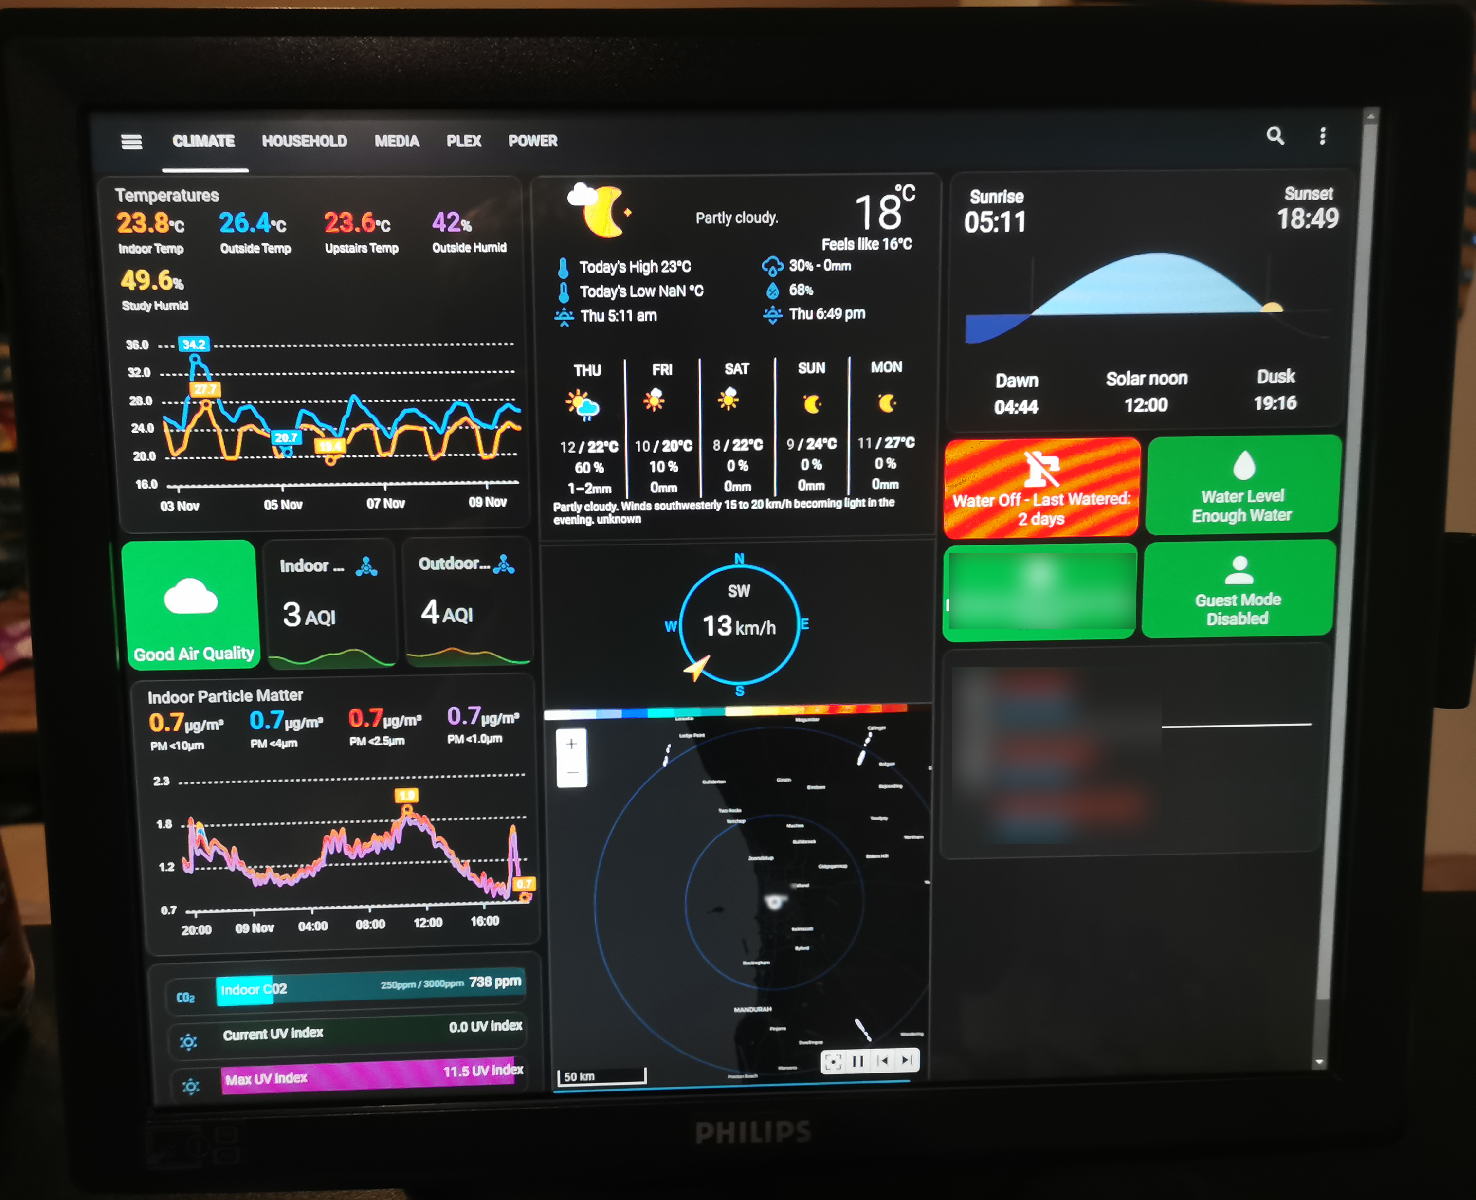
If all the above options sound too hard, or too large, I would suggest simply buying an off the shelf computer touchscreen. These have a lot of advantages: low power consumption (since they are all LED these days) and easy to control power on and off (just screen sleep from windows or Linux). They also come in a variety of standard 16:9 computer screen sizes 20-27". You want at least 1080p on any screen over 20" and 1440p on any screen over 27". An IPS screen will also give you wide viewing angles, ideal when mounting in a central part of the house. My personal preference is the DELL P2418HT; it has all of the above, looks clean and can take a standard VESA mount. Just be sure to look for it at a computer store or reseller which sell them for nearly half the price of Dell's website.
Kindles
Now you may be wondering why an E-reader is here when we are talking about screens, but hear me out, it might be the best screen that costs practically nothing.
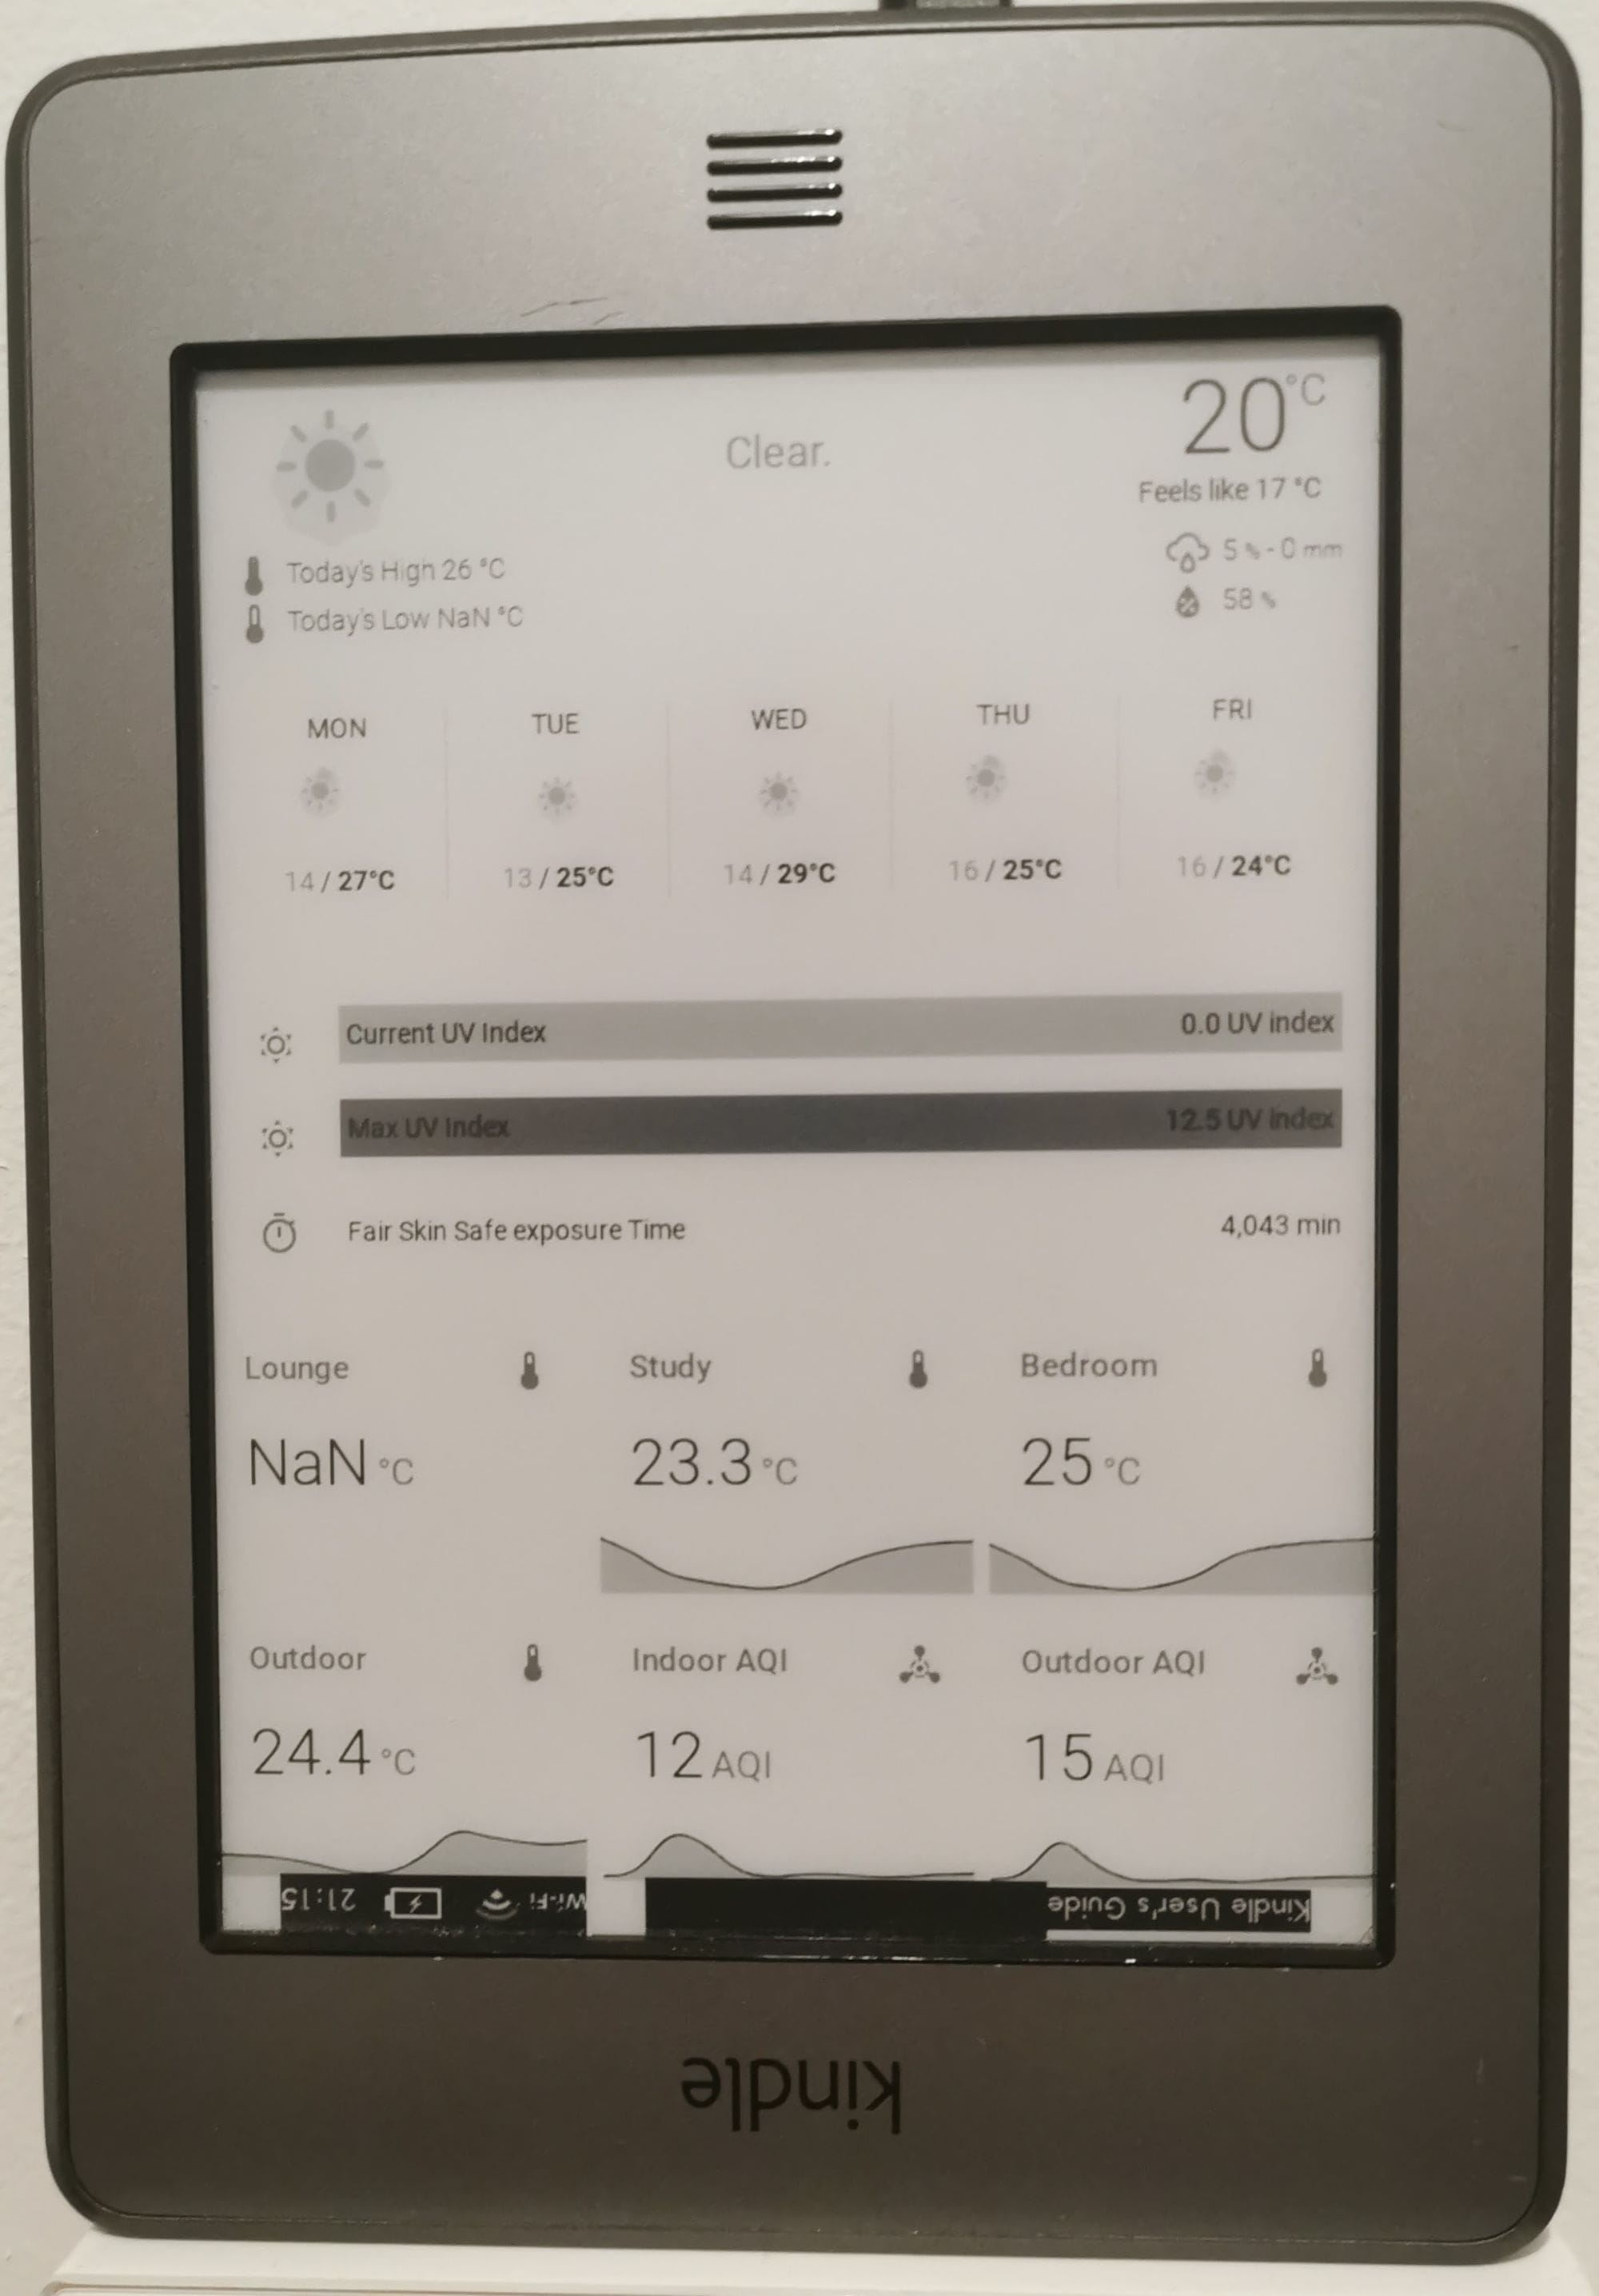
E-ink screens are great for a displaying simple data such as weather, air quality, indoor temperature sensors and upcoming events. The biggest limitation of E-ink screens are also their biggest strengths: they only use power when updating, but can't update frequently (doing so can wear out the screen).
There's a few different ways of achieving this, but they mostly boil down a similar workflow, which i'll try to briefly outline: 1.Home-Assistant Dashboard -> 2.Webpage to image render -> 3.Kindle
- Home-Assistant Dashboard. For rendering on a Kindle, it was best to build a separate dashboard exclusively for the kindle's screen dimensions using the vertical stack card, along with using an E-ink specific theme, and kiosk mode to remove the top navigation bar. It's best to think about the device dimensions while building this, which can easily be done by using the browser developer tools in mobile mode to create a custom size screen.
- Web page to Image Render. The Kindle isn't capable of rendering the complex web pages of home assistant, so the best option is to render the dashboard as an image then serve that from a simple HTTP server.
- Kindle. This is certainly the hardest part of the process and most varied depending on which generation of Kindle you use. You need to get it automatically loading and refreshing an image off a HTTP server. Typically the easiest way to do this is by using a screensaver add-on which periodically download's the new image. This almost always requires you to jailbreak your Kindle, so be warned when selecting a Kindle for this process, be sure to select a generation of Kindle and software version with a working jailbreak.
This process is the simplified version of what Sibbl built here:
 sibbl
sibbl