Node-red Air Quality Index (AQI) and Home Assistant display
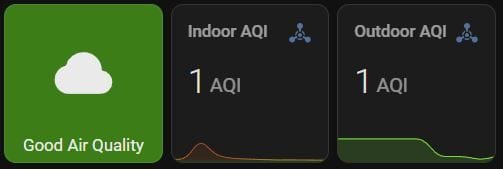
I'll start my first post off with a small project I built some time ago that has been extremely useful. The goal was to use a particulate matter sensor to calculate real-time AQI from both the raw PM2.5 and PM10 from a particulate sensor. This is then displayed in home assistant on a card, along with the AQI description. This AQI data is then used throughout many places in my node-red flows for various automations such as air purifier automation, door left open notifications, shut window notifications, etc.
The Build
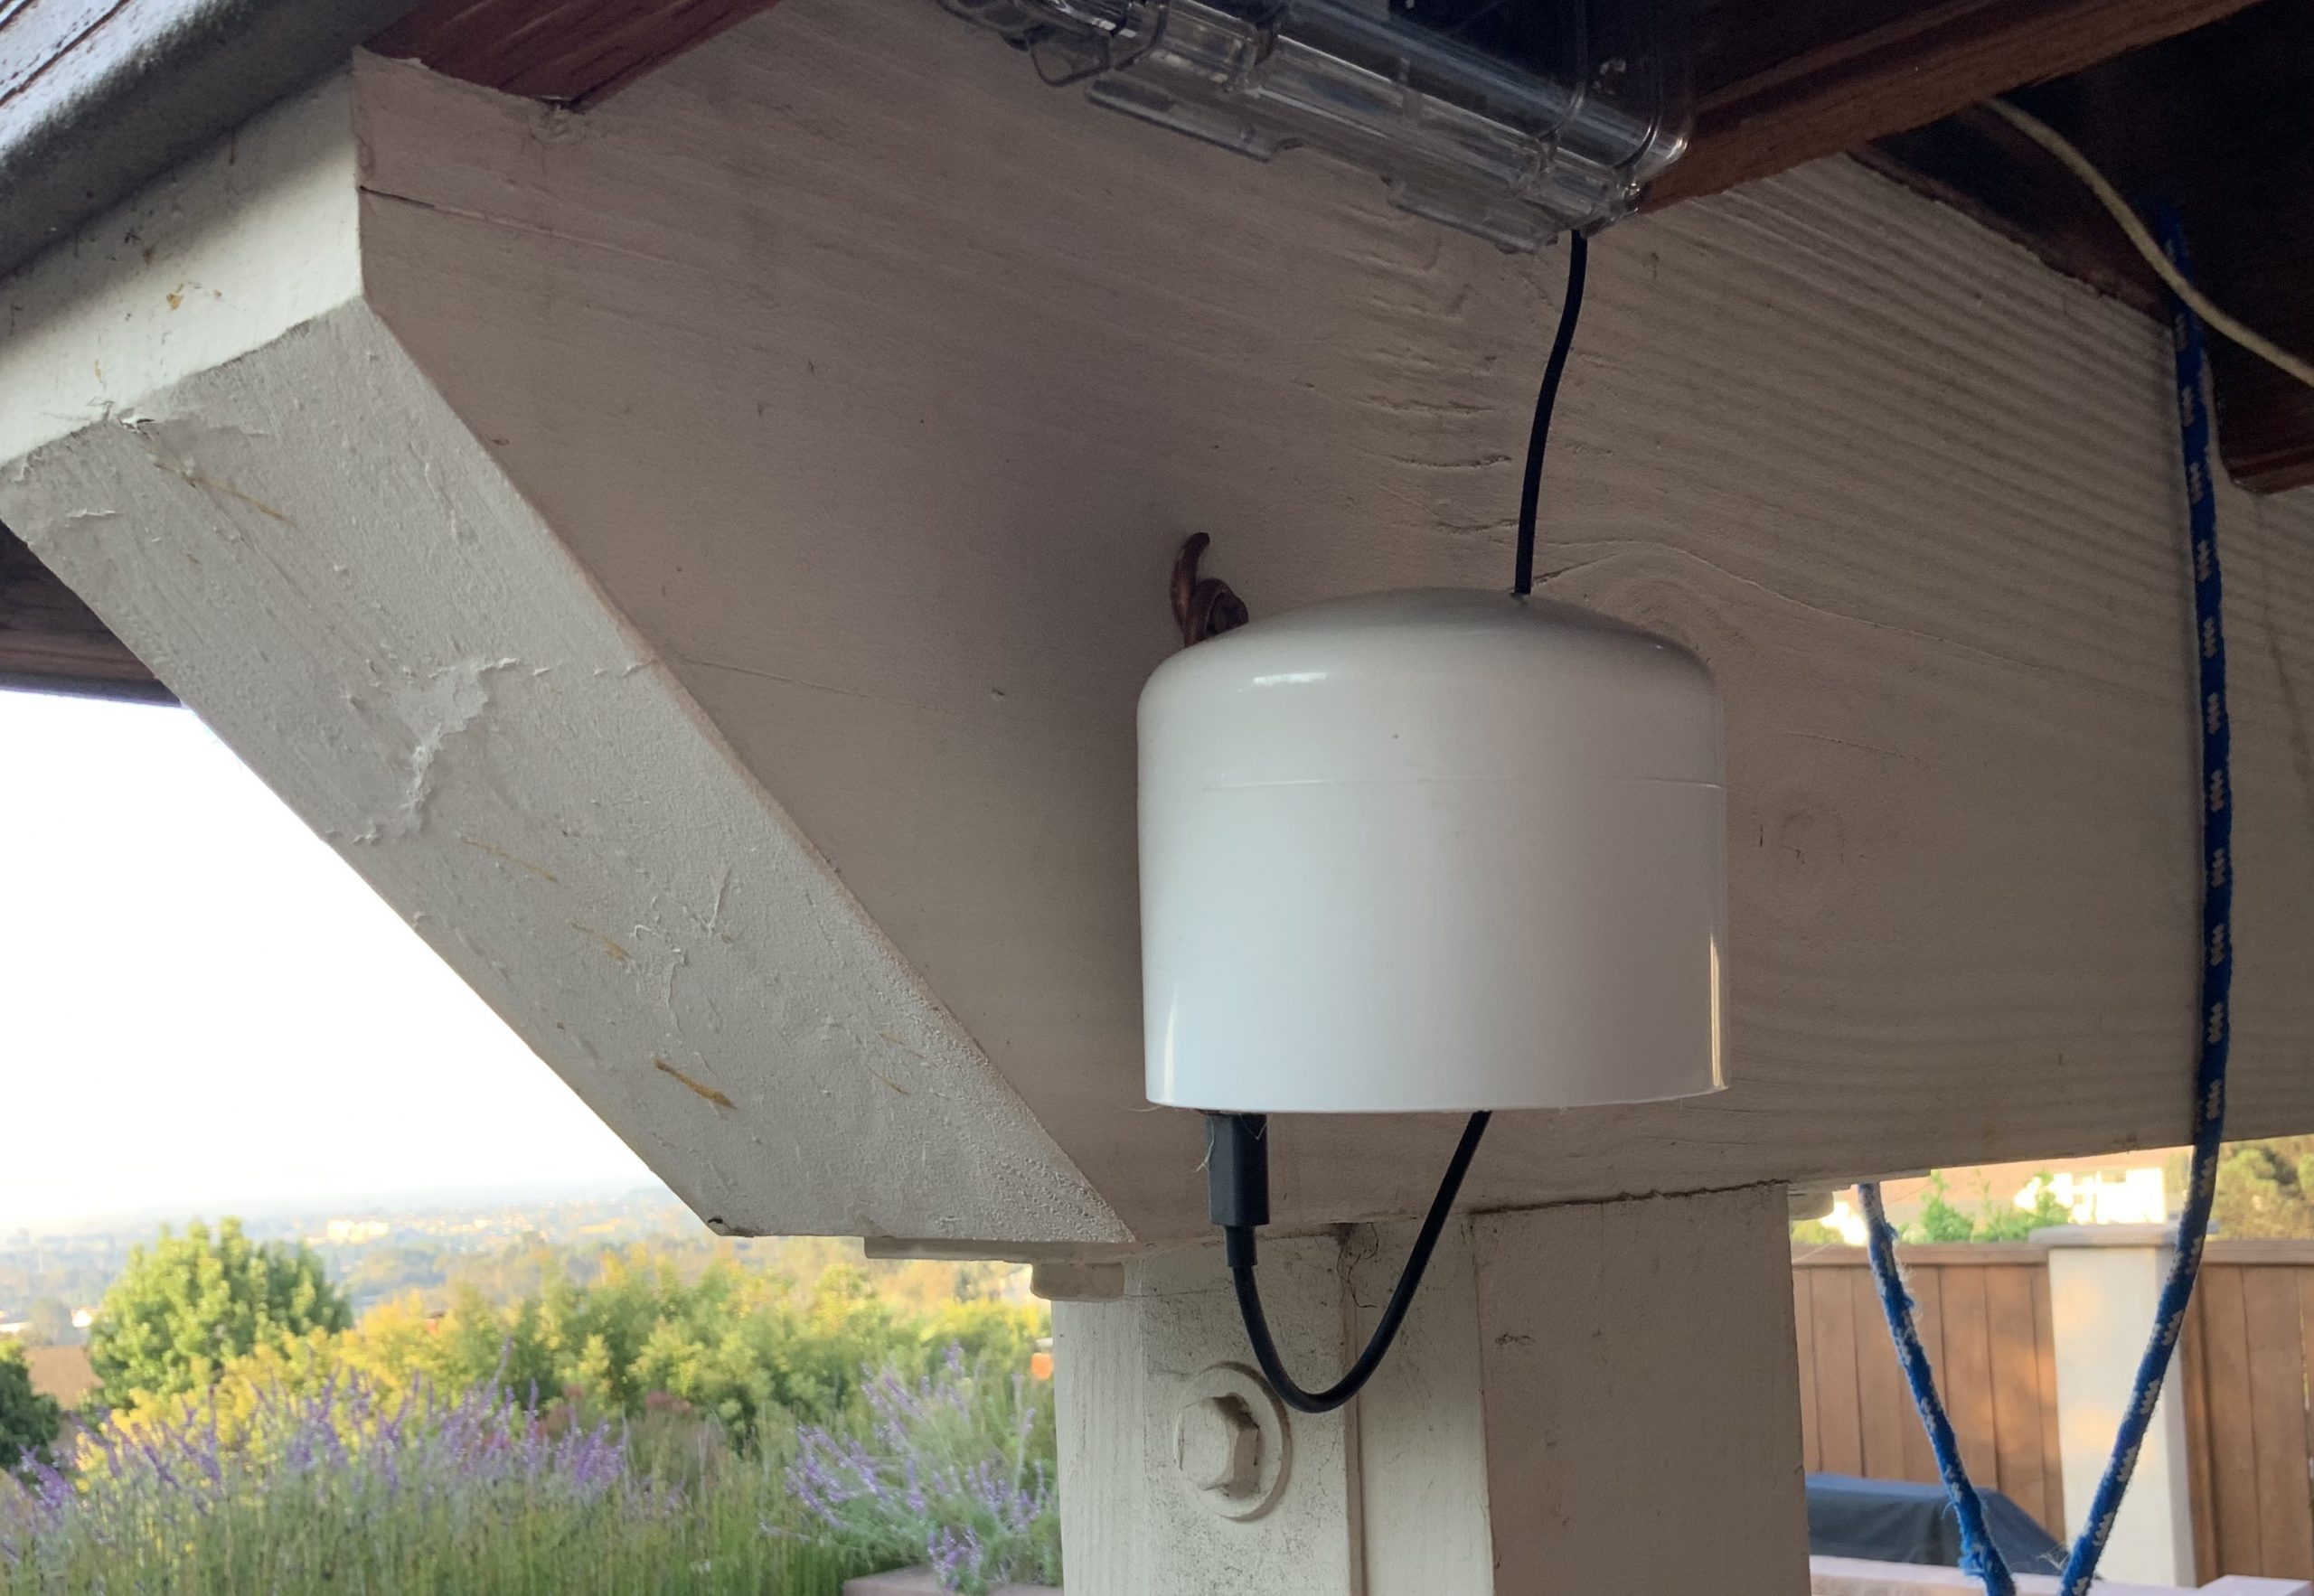
The hardware side of things is very straight forward, and makes use of ESPhome running on an ESP8266/32. Any particulate matter sensor with support in ESPhome with both PM2.5 & PM10 measurements can be used, however I can highly recommend the Sensirion SPS30. This is due to the SPS30 being MCERTS-certified for particulate matter detection, and even with taking readings every 60 seconds can still have an extremely long lifetime. https://esphome.io/components/sensor/sps30.html If you looking for a lower cost sensor (around half the price) I have also had successful results from using the SDS011. When compared side by side they produce almost the exact same PM2.5 &PM10 reading and the AQI calculations produced is with 1-2 AQI values of each other. The biggest downside of the SDS011 is the known longevity issues from regular use. In order to get around this, it's suggested to update the SDS011 sensor no more then once every 5min. The Sensirion SPS30 also produces PM1.0 & PM4.0 readings, however this node-red flow does not make use of these values.
Software
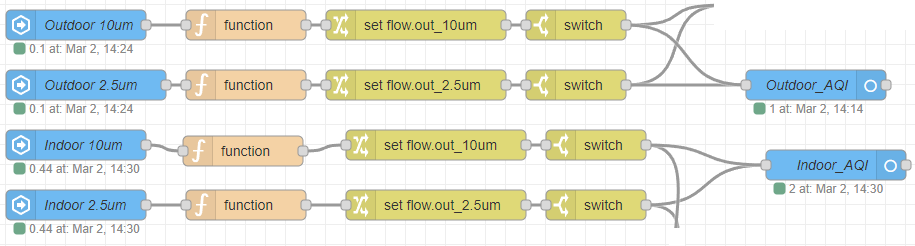
The flow itself is reasonably straightforward, the switch nodes at the end are used to select the higher of the two AQI calculations from the PM2.5 and PM10 sensor data (PM2.5 is weighted higher in the algorithm, since it may cause more adverse reactions). I then output this to a home assistant entity, along with a few attributes which show the pollutant type (PM2.5 or PM10), and the description which accompanies the current AQI level. I also made a very simple 5 minute rolling average, which is used for the global AQI variable and the link-out node, so that the rest of the node-red automations are less influenced by spikes.
Prerequisites:
Node-red pallets (installed though menu -> Manage pallets -> Install):
- node-red-contrib-home-assistant-websocket
- node-red-contrib-average
Home assistant Intergrations (installed through the hacs store):
- Node-RED Companion Integration (This is best installed through the Home assistant community store)
- Button Card (Optional,required for using the custom card in home assistant)
- Lovelace Mini Graph Card (Optional, required for graph in home assistant)
After you install the above dependences and have setup the node-red home assistant websocket connection (follow this great guide here), import my node-red flow from github: Node-Red_AQI_flow.json. After you have configured the correct entities for the PM2.5 & PM10 Weight concentrate (mine is sensor.outdoor_pm_10um_weight_concentration), click deploy and you will have a new sensor created under the node-red companion integration which shows the AQI as the state, along with attributes which show the the source of pollution, PM2.5 or PM10, and the AQI description!
If you would like to use the description card I built, you will also need to add the following template sensor to your configuration.yaml, of course changing sensor.outdoor_aqi to your AQI sensor:
  outdoor_aqi_description:
    value_template: "{{ state_attr('sensor.outdoor_aqi', 'description') }} "
Lastly, you just need to copy the AQI_Display.yaml from github and copy it into a manual card in your home assistant dashboard.
I do want to make mention that I did not originally write the function node, which does ALL the heavy lifting here. Credit to Scott Gruby - he has an excellent write up on his outdoor AQI sensor, along with a much more detailed description of the hardware build.